Photobucket
Showing posts with label jewelry. Show all posts

Monday, April 20, 2015

Easy Tassel Necklace


I love simple necklaces - the danglier the better! It really doesn't take much to add a pop of color to an outfit, and it doesn't have to be complicated. You can keep your chunky statement necklaces, I'll take a simple suede tassel necklace like this one any day (especially when they're this easy to make!)
 
I love the look of leather tassel necklaces like this one at Anthropologie, but I don't love the price tag. I had a bunch of suede leftover from my knotted suede bracelet project, so I decided to whip up a tassel necklace with some of the leftover. These are easier than most leather necklaces I've seen (since you're basically just stuffing a bunch of suede in a cap end) so you have no excuse not to make one. And, if you're looking for a gift for Mom on Mother's Day, this would be perfect!
 

SUPPLIES: I found most of my supplies at Wal-Mart and Hobby Lobby, but Etsy is also a great resource for craft supplies. You will also need chain, a small jump ring, scissors, wire cutters and round nose pliers for this project.


ONE: cut 5 strands of suede cord (or more depending on the size of end cap you have) 5 inches long and bunch together as shown in the picture above.

TWO: fill your end cap with E-600 glue and insert the folded parts of your cording into the cap securely. Let dry according to the instructions on the tube.

THREE: insert 1 seed bead on your eye pin, then add a decorative bead followed by a second seed bead.

FOUR: Loop the end of your eye pin over the nose of your pliers close to your seed bead, then wrap the wire around a couple of times and snip off any extra. (Not shown) open the other side of your eyepin some and thread on your end cap. Use a jump ring to attach the other end to your chain.


And that's it. Classy, and SO easy to make. I just love mine and can't wait to make more in different colors.

Monday, November 25, 2013

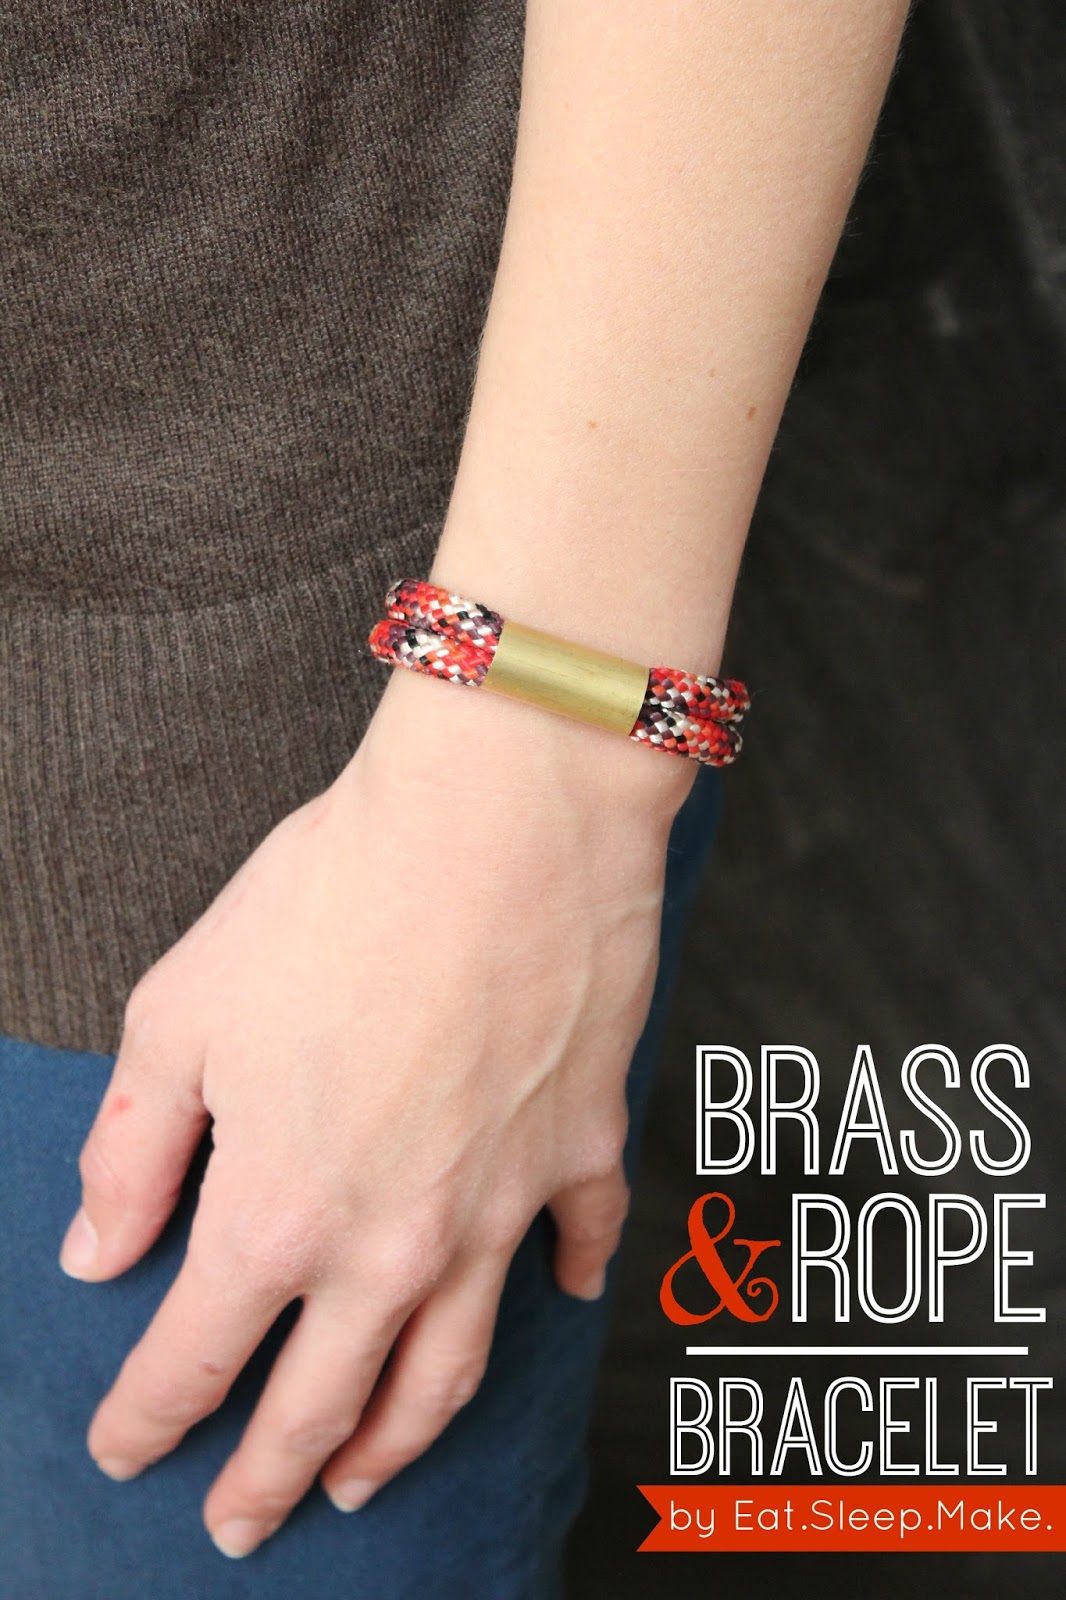
Brass and Rope Bracelet {Jewelry Blog Hop}

*** Want to buy a finished brass and rope bracelet? You can find it HERE in my shop!**


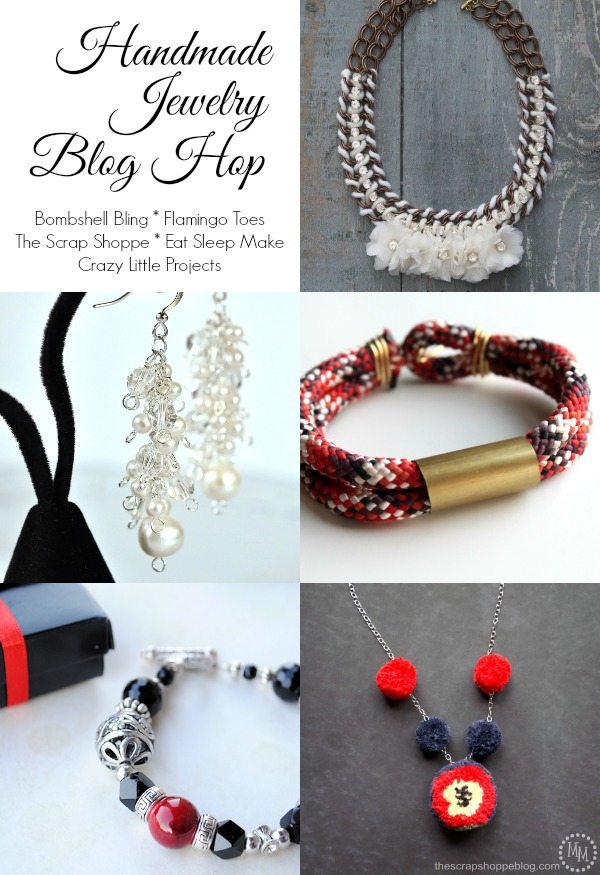
Hi everyone, Shannon and I are thrilled to be a part of a fun handmade jewelry blog hop and giveaway today! Several of us got together to create tutorials for jewelry that would make great gifts for the holidays. Check out all the gorgeous pieces these talented ladies came up with:

Handmade Jewelry Blog Hop
Be sure to check out all of the amazing tutorials for these jewelry pieces on these fabulous blogs: Flamingo Toes, Bombshell Bling, Eat.Sleep.Make., Crazy Little Projects, and The Scrap Shoppe.

For my contribution to the jewelry party, I made some brass and rope bracelets with supplies that I found at my local hardware store. I love the modern edge that the brass tubing gives these bracelets. Warning: once you make these, you'll be buying out your local hardware store just to make jewelry (check out Shannon's paracord and scarf ring necklace for another hardware store-inspired piece.) And with all the different colors of rope available, you could make a whole slew of these bracelets to match your outfits or give as gifts.


This project does require using some tools, so get your hand saws ready (or save your fingers and get a man to do all the cutting for you like I did ;) and lets make some jewelry!


SUPPLIES: 18 gauge gold wire, 1 1/2 inch diameter brass tube, rope, round nose pliers, flat nose pliers, wire cutters, lighter, hand saw (or Dremel) and clamp, and sand paper.

You can find the rope and brass tubes at your local hardware store. There are many sizes of tubes to choose from, so if you'd rather make smaller bracelets for stacking go for it! Each brass tube will give you a bunch of beads when cut, so I suggest cutting the entire tube in pieces all at once so you don't have to go back and cut the beads one at a time in the future (just remember to sand the edges well!)


Making Your Brass Bead:

ONE: first, cut 15 inches of rope.
TWO: next, mark 1 inch of brass tubing with a pencil.
THREE: gently clamp your brass tubing (not too tight or you'll squeeze it out of shape) and carefully use a hand saw or Dremel to cut your tubing to size. Use sandpaper to sand the edges smooth.
FOUR: fold your rope in half and thread your brass bead onto the middle of your rope.


Use a lighter to carefully melt the ends of your rope to prevent fraying.

Closure - Making The Loop:

ONE: to make the hook portion of your closure, first you'll need to cut roughly 4 1/2 inches of your brass wire using your wire cutters. Bend one end of your wire slightly.
TWO: clamp the bent end of your wire around the looped end of your rope.
THREE: wrap your wire around your rope 3-4 times, clamping as you go.
FOUR: use your wire cutters to clip any extra wire.

Closure - Making The Hook:

ONE: now for the hook portion of the closure, cut 7 inches of brass wire with your wire cutters. Using your round nose pliers, gently bend the wire about 3 inches from the bottom. Squeeze the loop you made a little smaller with your pliers to make it more narrow.
TWO: 1 1/4" down from the loop you just made, use your round nose pliers to bend the longer wire at a 90 degree angle sideways as shown above.
THREE: this is what your wire should look like so far.
FOUR: place the piece you just made on the ends of your rope as shown above.


FIVE: clasp your hook and rope with your flat nose pliers and begin to wrap your rope with the end of the wire that is sticking out.
SIX: wrap the rope 3-4 times, or until secure, and snip the ends with your wire cutters.
SEVEN: grasp the middle of your loop with your round nose pliers and fold down as shown above to complete your hook.


It's a simple piece, but it can be customized however you want depending on the color and pattern of rope you choose! I also made several in blue (because blue is my favorite color and I couldn't help myself.)


I can't decide which version I like the best! Good thing I have 10 feet of extra rope so I can make extras ;)

So how about a fun giveaway to win 11 pieces of jewelry, including one of my brass and rope bracelets?

Enter using the Rafflecopter widget below!

a Rafflecopter giveaway


Monday, November 11, 2013

Easy Feather Earrings


I love feathers in jewelry, and with Thanksgiving coming up, it just seemed appropriate to share these. If you're new to jewelry making, don't be scared! Simple projects like this one will boost your confidence and turn you into a pro in no time. Also, if you need some extra help, Bev from Flamingo Toes has a whole section for jewelry tips that will explain any basics you have questions about.


Feathers add a fun, tribal edge to outfits, and you can find a number of different patterns and colors at your local hobby shop. Add different colored beads or other embellishments to make them your own!

Want to make some for yourself?

SUPPLIES:


Crimping Your Feathers:
ONE: first, choose the feathers that you'd like crimped and one crimp bead.
TWO: insert the end of the feathers into your crimp bead, and use your flat nose pliers to press each side down to contain the end of the feathers.
THREE: here is what your finished crimped feathers should look like.

Finishing:
 
 ONE: insert a jump ring through the hole of the crimp bead (but don't close it yet!) Repeat for your second set of feathers if desired.


TWO: insert your bead onto your headpin and then, using round nose pliers, wrap your wire around your pliers to make a loop
THREE: insert your bead through your jump ring, add your earring hooks,  then close your jump ring and you're done!


I hope you enjoy your new earrings! With the holidays coming up, these would also make a quick, stylish gift.

If you're looking for more easy jewelry tutorials, check out these past projects:


 Check out our Link Party Page to see where we link up each week!
 photobucket

Monday, September 9, 2013

Leather Belts to Wrap Bracelets


My husband's grandmother gave me a box full of belts a few months ago, and after picking out a few to use for crafts, I saved a few favorites for myself. The only problem is, Grandma must have been a size 0 when she wore them (which I certainly am not!) because they were tiiiiiiny! Most of them found their way into my craft room to be refashioned later, but I held onto this cute yellow skinny belt for myself, thinking I could make it work...that is until I tried to force said size 0 skinny belt onto my size 6 waist and it broke.

But when life hands you lemons and broken belts, you make jewelry!

So grab a few skinny belts from your closet (or from your local thrift store) and lets make some leather wrap bracelets.


SUPPLIES: leather belts (preferably skinny belts), scissors, leather punch or Crop-o-dile.


ONE: wrap your belt around your wrist until you're happy with the bracelet size, leaving some extra for the tail.
TWO: cut that bad boy.
THREE: use your leather punch or Crop-o-dile to punch holes in your bracelet to make it adjustable.


Now make a bunch! I bet you could find a ton of fun prints and colors at a thrift store. I'm hoping to find some neon or metallic belts to make into bracelets next.


Enjoy your new jewelry!


Check out our Link Party Page to see where we link up each week!
photobucket

Wednesday, July 3, 2013

MAKE: Para Cord & Vintage Scarf Ring Necklace


Last month we shared this tutorial over at Whipperberry as our first post as part of the Whipperberry Creative Team.  (so exciting!)  We absolutely love working with Heather and are so grateful for the opportunity she's given us.

Of course, you all know how much we love going to estate sales and finding forgotten treasures. You see our photos on FB almost every weekend!  (We did a whole series about our strategies here.)  So, naturally, many many projects come from our compulsive saling.  Today I'm showing you how to make a necklace using para cord from the hardware store and a vintage scarf ring that I got for 25 cents at an estate sale. Yay!


As you can see, my cord got a little tangled.  It took me a good 15 minutes to even find the ends to begin untangling it. 
For my necklace I used 6 strands that were 6' long each, folded in half, with a tie around the middle.  That gives 12 - 36" strands to braid.
I braided 3 groups of 4 strands to get a thick, sturdy braid.  Once the braid is complete, tie some cord around the end and use a hot glue gun to secure the ends together.

Next, slide your scarf ring on.

The hard part is fixing the 2 ends together.  I used the tie that held the looped ends together and joined the 2 ends.  Use hot glue to secure any pieces you think may come loose.

Slide the scarf ring over the joint to hide it.  I made sure it wouldn't move by putting some glue inside the ring, then wrapping 5 loops of cord on either side of the ring. 


I actually love this necklace so much that it gets worn at least once a week. I'm actually wearing it right now!  You could even get fancy and change the shape of the necklace by using some copper piping elbow joints... I whipped one up, but forgot to take photos. I'll have to share those at another time.

Jen and I wish you guys a Happy Independence Day!  Have a blast partying and watching the fireworks! 


Monday, June 10, 2013

MAKE: DIY Leather Bar Bracelet

I wear a ridiculous amount of bracelets.  I have bracelets for every outfit and every occasion.  But, for some reason, I never seem to have enough black and gold for the arm parties I frequently throw.  I needed something quick and versatile so I threw this little baby together using a brass tube from the hardware store and some braided leather... and nothing else!  

Supplies:  Braided Leather Cord - 16 inches, 3/16 Brass Square Tube - 2 1/4 inches, Wire Cutters and Pliers.

I wanted it to look unique, so I cut the tube longer than you normally would for something setting on your wrist.  

You can use wire cutters to cute the tube. It gives the end a pinched off look.  Just open it back up with some pliers.  Pinch off the opposite end as well to make sure they both have the same affect.  

Slide the tube on the leather cord, then tie the ends of the cord to the opposite side of the cord, so you get a sliding knot affect.  The knots should be able to slide to the ends of the tube, giving the image of a double corded bracelet.  

Ta-da!  It's done!  I love the industrial look of this.  It's such a contrast to the feminine clothing I wear. 


Check out our Link Party Page to see where we link up each week!
photobucket
Related Posts Plugin for WordPress, Blogger...