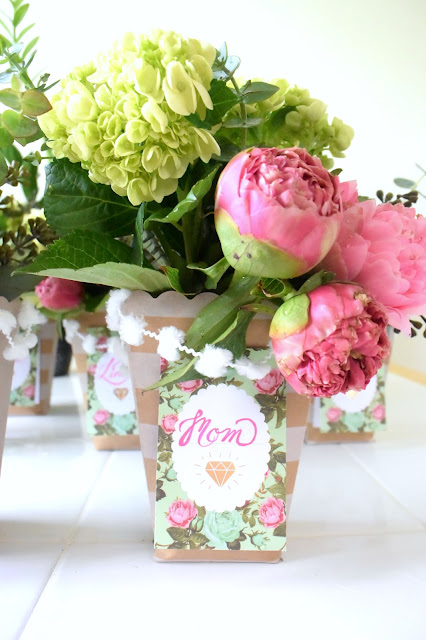
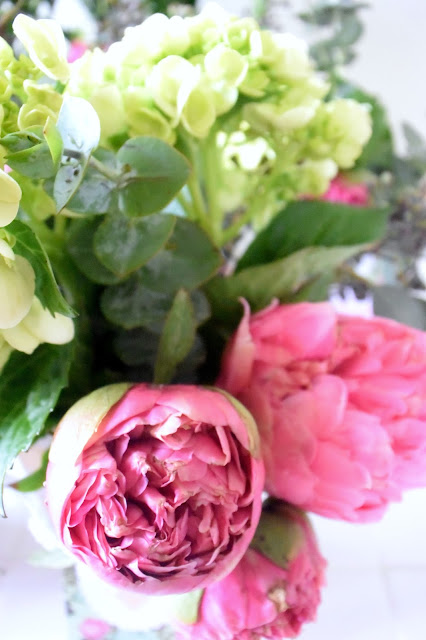
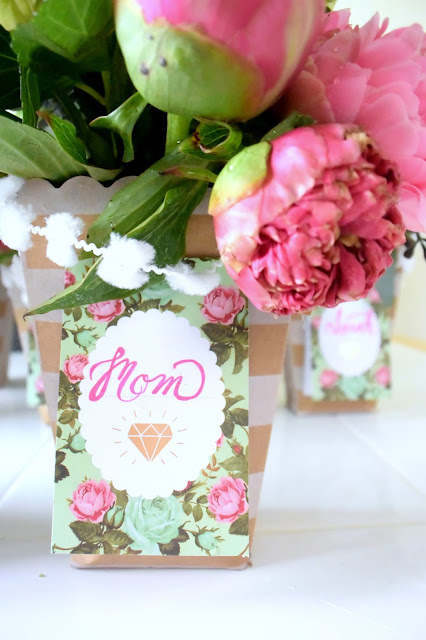
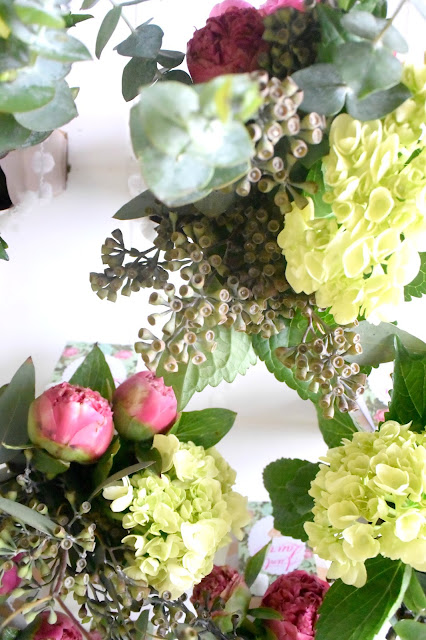
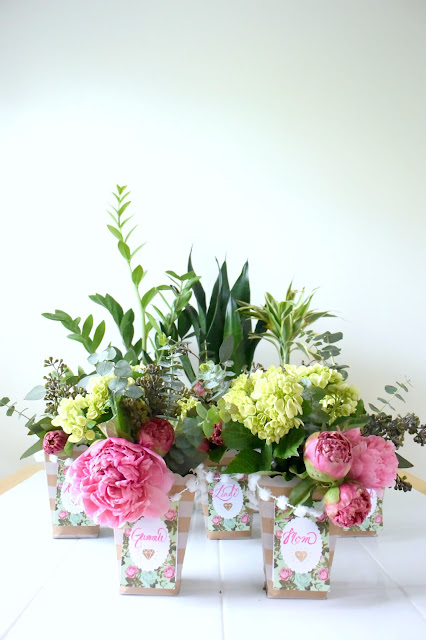
There is nothing I love more than flowers. Well, except gifting flowers. It's such a small gesture, but who doesn't love receiving flowers? I think they're the perfect party favor, too. I created these adorable bouquets with some simple items I found in the party section at Michaels. All you need are the little plastic milk bottles, a pack of paper popcorn holders, place cards and pom pom garland. (and a glue gun OF COURSE!)
Showing posts with label PARTY. Show all posts
Showing posts with label PARTY. Show all posts
Wednesday, June 1, 2016
Tuesday, September 1, 2015
#MichaelsMakers: Harvest Inspired Tablescape Using Craft Pumpkins
I'm not even going to acknowledge the fact that summer is over. I love fall, but, this year, I feel like I need a little more summer in my life. This challenge of using craft pumpkins seriously was a challenge, just because I had to break out of the summer mentality to get the autumnal feeling in order to find proper inspiration for this. I cheated a little, though. I kept things green and did away with the traditional red and orange colors that find their way into most fall decor. I really really really love the look I came up with for my mom and dad's dining room table. They always host our gigantic family Thanksgiving dinner, so I figured it was the perfect place for this.
For my craft pumpkin DIY I kept it simple. I drilled a pattern of holes all around them. Then one bigger hole in the bottom. I stuffed a bunch of twinkle lights inside and voila. I think it adds the perfect amount of shimmer to the table without being too obnoxious.
I also made this adorable little bunting with doo-dads I found near all the scrapbooking supplies.
These little flags that I used for place cards were also near the scrapbooking supplies.
I grabbed a few hay bunches and log slices and a bunch of eucalyptus, as well. I placed the eucalyptus into pottery I had made in high school that my mother, so lovingly, still keeps displayed all over her house. (Do you see the little unicorn that photobombed my shoot???)
For the big centerpiece, I picked a bunch of fake flowers from Michaels that I thought would give this the perfect rustic-ish, harvest-ish, fall-ish feeling... there are even some feathers in there, too. Oh, and a little wooden owl hiding in there for the kids to find. This was so much fun to put together with my mom! She's definitely the one I get my craftiness from.
Here's my project from last year, that I still adore!
Now go check out all the other incredible craft pumpkin projects from the rest of the Michaels Makers team and GET INSPIRED!
Labels:
#michaelsmakers,
autumn,
CRAFT,
dinner party,
DIY,
easy,
fall,
harvest,
holiday,
Holidays,
home decor,
home decoration,
MAKE,
PARTY,
pumpkin,
tablescape,
Thanksgiving
Friday, November 15, 2013
9 Handmade Holiday Hostess Gifts
I'm kind of old school... traditional and I believe that when one is a guest at someone's house for a party or a holiday gathering that one should bring a gift for the hostess. Let's be real here. We are all 150% aware of the time, effort and sacrifice that goes into throwing even the smallest of dinner parties. I love showing my gratitude for all that hardwork by giving little gifts. It may seem small and meaningless to you or someone else, but to that person that slaved away cleaning and cooking and decorating to entertain you... that small gestures of thanks means the world.
I've rounded up 9 absolutely adorable handmade holiday hostess gift ideas for you. Some of them take no time at all, but will make such a huge impact! I really do encourage you this holiday season to show your appreciation for those opening their homes to you. It's so easy... and so rewarding, too.


Wednesday, September 18, 2013
A Grown-Up Paper Plane Birthday Party
Last weekend we celebrated my husband's birthday. It was a last minute celebration that I threw together. I wanted something fun, but classy. Something easy an inexpensive, but that looked like it took me hours and hours to plan. Isn't that really the goal for any party thrown? I settled on paper airplanes. I'm not entirely sure where this idea came from, but once I started working on it, it came together seamlessly! I bought an old outdated atlas from Half Priced Books to make some planes, threw a globe in the mix and used my vintage film canisters to give the table some dimension. For the cupcakes, I tried to make the frosting look like clouds that the planes were hovering above. All in all, I love how it turned out!
We had such a blast with our families and having all the kiddos running around torturing our poor animals. Needless to say, we all passed out around 9pm after all the craziness subsided. It was so worth the exhaustion, though!

Check out our Link Party Page to see where we link up each week!
Friday, August 16, 2013
Summer Farewell Party Ideas
It's always bittersweet saying farewell to summer and hello to fall, but these 5 amazing and breath taking party ideas are sure to soften the blow!
Classy Dinner Party via Your Homebased Mom
Backyard Movie Night via Design Sponge
Fancy Shmancy Smores Party via Cookie Creatives by Jennifer
Somewhere Over the Rainbow Party via Kara's Party Ideas
Endless Summer Fruity Bash via One Sweet Party
Friday, March 8, 2013
PARTY: Flynn Rider Satchel & Rapunzel Braid {Tangled Birthday Party}
--Click HERE to see all Tangled-related posts and DIY's--
The handmade favors may be my favorite part of the entire party. I thought for a long time about what I wanted to give the kids as a thank you for coming. With a mix of both boys and girls, it was difficult to settle on something I liked that was gender neutral. Instead, I decided to cater to both and make Rapunzel braids for the girls and Flynn Rider satchels for the boys!
To Make Flynn Rider's Satchel:

SUPPLIES: brown felt (1/4 yd is more than enough), brown bias tape, buttons, elastic cord, thread, sewing machine and supplies, glue gun.
ONE: first, cut a rectangle of felt that is 16 inches long and 5 inches wide. Also cut 30 inches of bias tape for the strap.
TWO: fold the bottom of your felt rectangle up 6 inches and sandwich the end of your bias tape under each side. Pin to secure.
THREE: sew a straight line from the bottom of your bag to the top. When you reach the top, lift your presser foot and turn the bag, then sew a few stitches across and down to secure your bias tape. Repeat on the other side.
FOUR: your bag should look like this so far!
FIVE: for your closure, cut a piece of bias tape several inches long, and sandwich the ends of a loop of elastic cording 3 inches long inside.
SIX: pin your bias tape and cording to your bag and stitch around the perimeter to. Backstitch a few times when you reach the elastic to make sure it's secure.
SEVEN: (essential to making sure the satchel doesn't look like a purse!) pick out a button for the bag. You want something with a "boy-ish" feel to it. I found these awesome buttons in my stash and they were perfect for this bag.
EIGHT: hand stitch your button on.
NINE: Flynn Rider's bag has a small scrap on the bottom with hand stitching. To make this, cut a small piece of felt and use a needle and contrasting thread to make a blanket stitch around the side (learn how to make a blanket stitch HERE.) Hot glue the scrap to your satchel.
To Make Rapunzel's Braid:
SUPPLIES: yellow yarn, thin purple ribbon, packing tape, hot glue, fake flowers.
I feel a little silly posting a tutorial for this because it's so easy, but here it is :)
ONE: I found this golden yellow thread at Walmart. One package was enough to make 10 braids with a TON of yarn left over.
TWO: cut 6 strands of yarn about 36 inches long. tie an overhand knot at one of the ends and tape to a table or other surface.
THREE: separate 2 strands each and braid until you reach the end.
FOUR: using your purple ribbon, tie a bow around the end.
To finish, wrap the braid around the child's head and tie a knot. Hot glue a fake flower over your knot to hide it. Dance around like Rapunzel :)

Subscribe to:
Posts (Atom)


