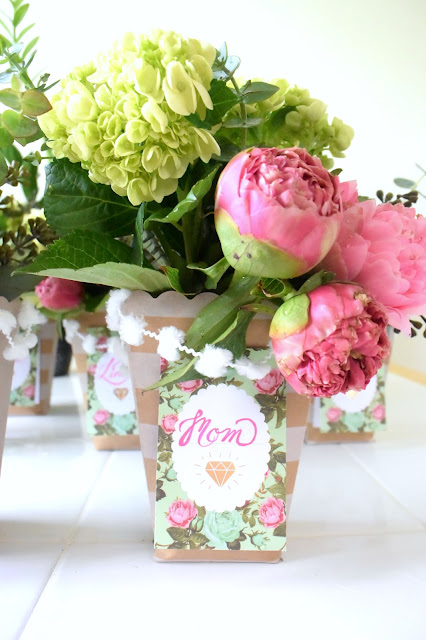
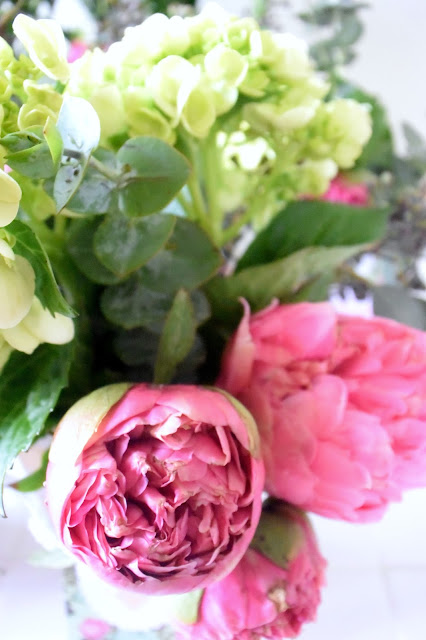
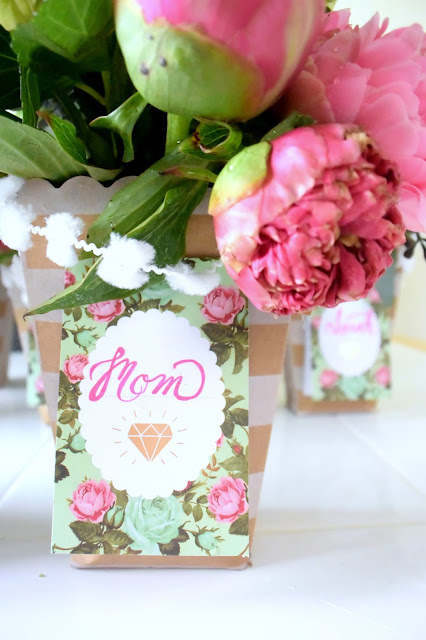
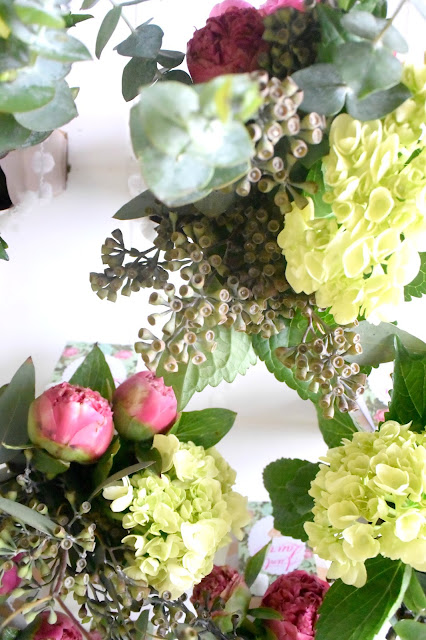
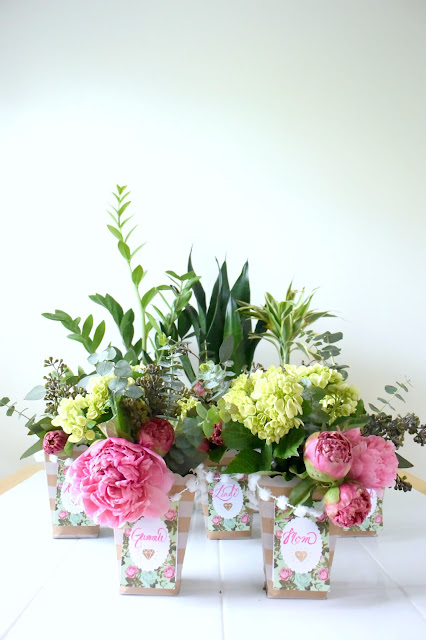
There is nothing I love more than flowers. Well, except gifting flowers. It's such a small gesture, but who doesn't love receiving flowers? I think they're the perfect party favor, too. I created these adorable bouquets with some simple items I found in the party section at Michaels. All you need are the little plastic milk bottles, a pack of paper popcorn holders, place cards and pom pom garland. (and a glue gun OF COURSE!)
Showing posts with label flowers. Show all posts
Showing posts with label flowers. Show all posts
Wednesday, June 1, 2016
Monday, December 7, 2015
A Christmas-Y Rosemary Tree Floral Arrangement DIY
Fresh flowers are my favorite thing. Ever. I also love fresh herbs and the absolutely heavenly aromas that come along with live fresh herbs. So I decided to combine those two to make the perfect holiday arrangement.
The Rosemary Tree was purchased at Trader Joes. So cute, right?? The rest of the flowers, so beautiful, you can find here. They have the perfect selection for the holidays!
I encourage you to step out of your floral comfort zone and play with different ways of displaying your favorite flowers for the holidays. They may not last as long, but will be such a show-stopper for your Christmas gatherings!
#handcraftedxmas
Monday, November 2, 2015
Autumn Pumpkin Vase Flower Arrangement
I know I'm not alone in this, but I MUST have fresh flowers in my living space on a regular basis. I don't know what it is, but they just make me so happy. This bouquet from Pro-Flowers is the epitome of fall gorgeousness to me. The colors are absolutely breath taking! You can browse all of their fall bouquets here. I thought they would like even more stunning in a spur of the moment vase made from a craft pumpkin. Honestly, one of the easiest DIY vases ever! All you have to do is cut a hole in the top and depending on the size of your pumpkin, add a glass or vase or jar to hold the flowers. Easy peasy!
That's my parents' dog, Bear. He's only a year old and is the size of a small moose. He desperately wanted to be in the photos!
Can we talk about the absolute perfection of my mom's styling skills of this area of her kitchen?
The best part of this pumpkin vase is that it won't rot. You can leave it out all season long and store it until the following autumn.
Labels:
autumn,
bouquet,
centerpiece,
CRAFT,
craft pumpkin,
DIY,
easy,
fall,
flower arrangment,
flowers,
MAKE,
proflowers,
tablescape
Wednesday, November 6, 2013
DIY Chunky Crocheted Vase Sweaters
I'm pretty sure that I'm not the only person that is suffering from being overrun by generic glass vases that you've never used again since their first appearance housing a gifted bouquet of flowers. I have a ridiculous amount. I've been trying to figure out something "sustainable" to do with them. You could always spray paint them... or... spray paint them.. That was all I could come up with, but then what do I do with a plethora of spray painted, oddly shaped vases? I get exhausted just thinking about it all. You could also donate them... some florists take in orphaned vases to reuse, which I think is brilliant. Unfortunately, the only one around here I could find was a significant drive away.
So, the round up I put together last of DIY Harvest Centerpieces inspired me. Specifically, the repurposed sweaters as vase covers. However, not wanting to cut up any of my sweaters, I decided to create my own. I always have plenty of yarn stashed away... finally, the solution to my hoards of vases (and hoards of yarn) seemed easy, attainable... and attractive!
If you don't know how to crochet, I'll refer you towards some amazing tutorials to help you. I don't think I'm anywhere near proficient enough to teach someone the basics, (although, I did try to teach 2 of my good friends this past weekend with some success!) But, if you already know how to chain your first row and the basic crochet stitches, you'll be good to go!
I chained just enough to slightly stretch around the circumference of the base of the vase. You want your vase sweater to squeeze slightly so it will stay in place. Once you get your chain long enough, connect the end to your loop. You will have a circle.
Next, chain 3 up and do a triple crochet stitch. I find this gives such a great chunky feel to it, leaving the yarn with space between stitches without getting too tight. Once you come full circle, do a single crochet stitch to connect the ends of that row. You should have a seemless connection. Just repeat that until your sweater is as tall as you need it to be to cover your vase.
Sources for Learning to Crochet:
Learn How to Crochet Part 1 - This video is very well done and I think pretty easy to follow. Give it a shot if you want to learn the basics of crocheting.
Futuregirl Craft Blog - I've been following Alice for over 6 years now. She's the one that inspired me to learn to crochet to begin with. Her blog offers some amazing tutorials and ideas!
The Happy Hooker - This book will teach you SO easily how to read crochet patterns. Honestly, I never thought I'd understand all the weirdness that is a crochet pattern, but with this book, I was making flowers in no time.
**Disclaimer: The above mentioned sources are not promoting this post. I am simply mentioning them because they work. I've tried them myself and I think they can help you all become awesome Hookers, too!


Labels:
centerpiece,
CRAFT,
crochet,
DIY,
easy,
flowers,
inexpensive,
MAKE,
Repurpose,
reuse,
sweater,
vase
Wednesday, August 7, 2013
MAKE: Revived Vintage Screen Garden Wall
After a couple weeks of pondering, I settled on the idea of a garden wall. My aloe plant (that had a bunch of babies last year) was ready to give birth yet again. Check out my post about separating your aloe plants here. This little wall piece was going to give me the perfect place to display my new potted baby aloe plants.
I love this project because it can be made appropriate for any and all seasons and holidays!

Check out our Link Party Page to see where we link up each week!
Labels:
cactus,
CRAFT,
DIY,
easy,
Estate Saling,
flowers,
gardening,
handmade,
home decoration,
inexpensive,
MAKE,
Repurpose,
succulents,
summer,
tutorial,
vintage revival,
wood
Monday, May 6, 2013
CRAFT: Modern Romance Spring Centerpiece
A few weeks ago I shared this project over at The Lovely Cupboard. When Heather asked us if we wanted to be the newest members of her team, I think our response to each other was , "HECK YES!" Needless to say, we are super excited for the chance to hang out with this girl on a regular basis. We think she's awesome. How could we not? I absolutely love throwing small parties in the spring and summer... using my patio in the back and my front porch. Sometimes I just can't seem to get fresh flowers to do what I want, so I made this modern, yet oh-so romantic centerpiece using silk flowers. I love that I will be able to dress up a table more than once with this!
You'll need:
A wooden box or bowl (I got mine in the bargain bin at Target for just a couple bucks)
Wood burner
Styrofoam sphere slightly larger than your box
Glue gun
Moss mat
Silk flowers - Keep in mind that you get what you pay for when it comes to silk flowers! It's good to splurge on the more expensive ones, but try to use a coupon or wait for a sale! (I got mine 50% off at Michael's!)
I chose to go with a class chevron design on my wood box. I sketched the design with a pencil first and then burned over it. I used the wood burner like a marker to fill in the triangle. This took some time and patience, but I love the way it turned out!
I used a pair of needle nose pliers to poke holes through the moss and the foam so I could start sticking my flowers in it. If you mess up a hole or put one where you don't want it, no big deal... the moss covers back up nicely.
Now, just place all your flowers where you want them! I chose fluffy peonies so I wouldn't have to use as many flowers to get a full looking bouquet.
2/3 of the way through this project I decided I hated it and that it was going to be the ugliest disaster of all crafting disasters. BUT... I decided to push on and see what happened. And wouldn't you know.. I LOVE IT! I can't wait for all my flowers to start blooming now so I can throw my first spring party on the patio!
The sun was setting, but I just couldn't get over how romantic the table looked, so I decided to throw these photos in, too.
Are you planning on hosting any springtime parties this year? The parties with candles and flowers and twilight just cannot be beat. Esepcially when you add in a little champagne and sweet revenge!

Labels:
centerpiece,
CRAFT,
dining decor,
DIY,
easy,
flowers,
wood,
wood burning
Subscribe to:
Posts (Atom)


