


Thanks for joining us for Stuff Your Stockings, a handmade gift series at Eat. Sleep. MAKE.
Bev with Flamingo Toes is a jewelry making genius. She makes it look so easy (and it is!) Bev i's our go-to girl for any inspiration or questions we have when making jewelry. Her How To Page is full of fantastic tutorials on different techniques and supplies, and she breaks everything down so that it's easy to understand. One of our favorite things that Bev does each year is to host a week long Anthro Knockoff series where she posts fabulous tutorials on how to make gorgeous (and much cheaper) Anthropologie jewelry. You can find some of our favorites HERE and HERE.
Bev makes more than jewelry though, you can also find her making tons of cute tea towels, clutches, and other great accessories.
Bev makes more than jewelry though, you can also find her making tons of cute tea towels, clutches, and other great accessories.
Today, we're happy to welcome Bev with a great gift idea for foodies!
------------------------------------------
Hello Eat. Sleep. Make. Readers!! I am so happy to be here as part of Jen and Shannon's Stuff Your Stockings series!
My name is Bev and I blog over at Flamingo Toes.
I LOVE creating things for the kitchen - aprons, dishtowels, potholders - really anything I can think of. It is so fun to decorate a kitchen with cute linens - I think it makes it more fun to cook! :)
I also have a leeeetle bit of a weird sense of humor - so I have to put my own funky little twist on things (like my "You are so hot!" potholder.)
Today's new dishtowel is so cute - and a little snarky too. :)
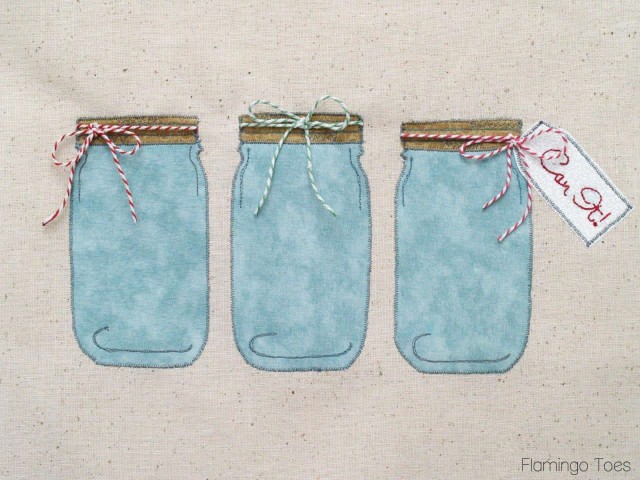
It's my Can It! Mason Jar Dishtowel!
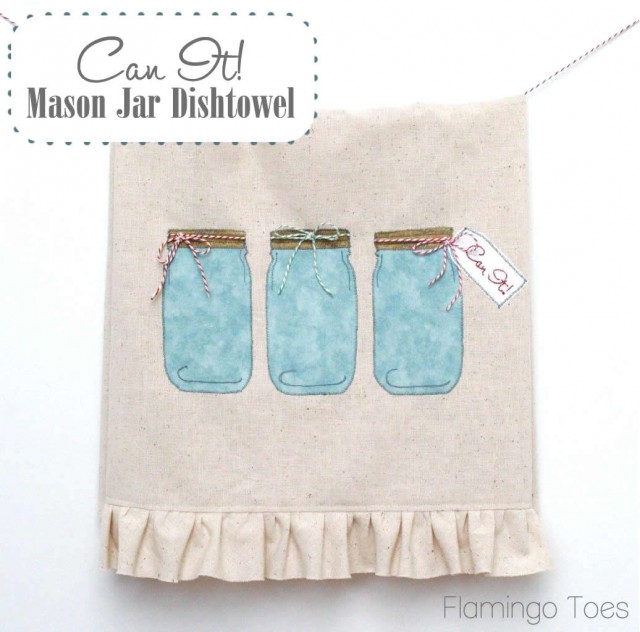
Wouldn't this make a great gift for the foodie in your life? And you can totally leave off the little "Can It" label or change the wording if you don't feel like basically telling someone to shut it in their Christmas gift. ;)
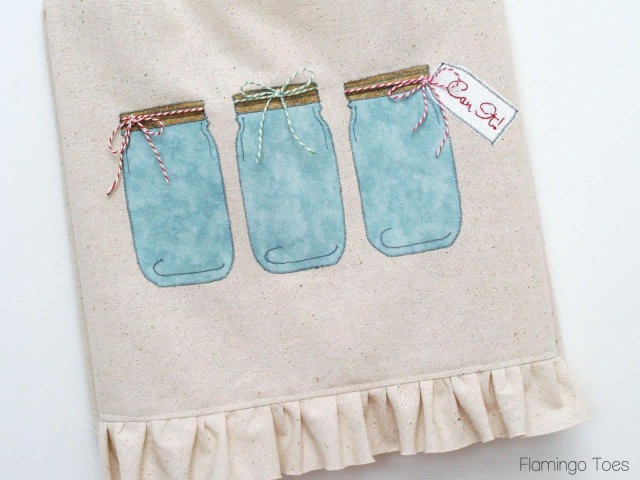
The Jars are stitched on, then embellished with just a wee bit of thread sketching. And they have baker's twine decorating the lids! So fun.
Here's what you'll need to make your own:
- Fabric for dishtowel: I used osnaburg but you can use any canvas or linen, or use a purchased dishtowel. You'll need a piece 21" x 28" and a piece 2 1/2" x 56" (that little one needs to be cut on the bias)
- Fabric for Jars, lids and label (see pattern for sizes - you don't need much)
- Pattern (download HERE)
- Baker's Twine
- Wonder Under
- Embroidery Floss
- Glue (for ends of twine)
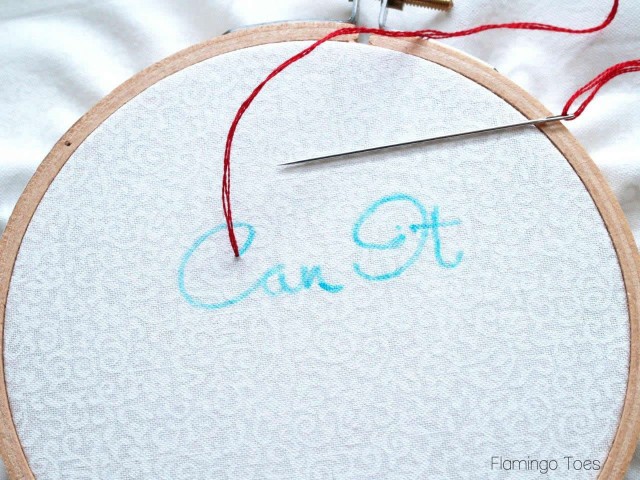
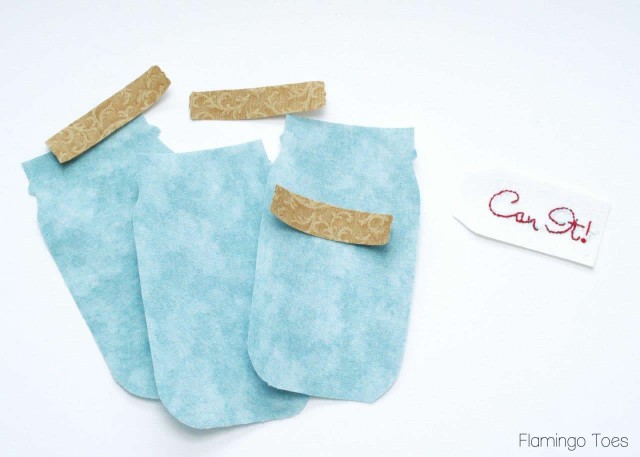
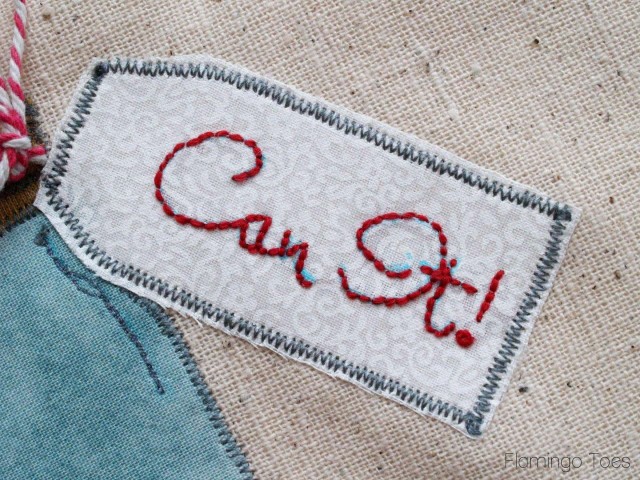
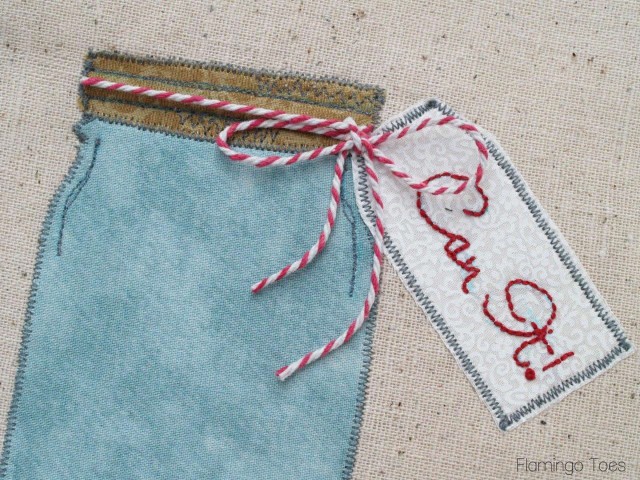
Use a back stitch to do the letters. If you need a tutorial you can find one on my How To Do That page for embroidery.
Pretend there's an exclamation point on there ok? I sort of forget to trace mine.
Once your embroidery is done, iron a piece of Wonder Under to the back and cut out your label piece.
Iron Wonder Under to your jar and lid fabrics and cut those pieces out as well.
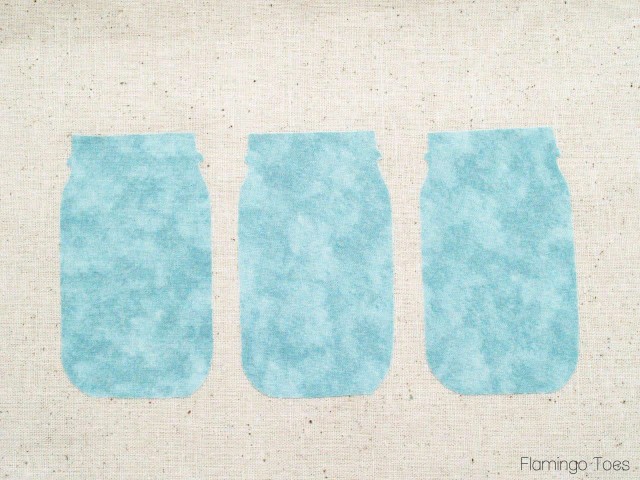
Lay out your jars on your dishtowel. Center the middle jar on the towel, about 4" up from the bottom of the towel. Place the other two jars on either side, 1/2" away from the center jar. Remove the paper backing and iron these in place.
Cut three 24" pieces of baker's twine in whatever colors you want. I found that the thicker twine works best here.
Lay the twine over the top section of the jar. For the middle jar I centered the twine. For the left and right jars, I layed them out a little uneven since I wanted the bows off-center.
(So the left jar had more twine on the left side.)
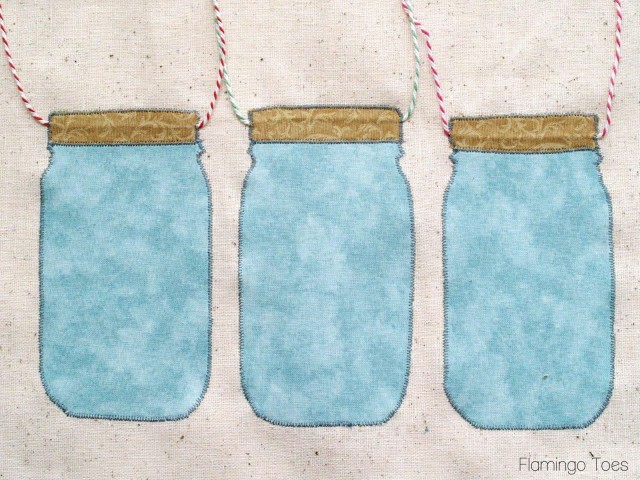
Place the lid piece over the twine and jar top. Remove the paper backing and iron down, sandwiching the twine between the two pieces.

Once all your twine and lids are ironed on, sew around the edges of the jars and lids with a little tiny zig zag stitch. Sew right over the edges of the jar lids, sewing over the twine at the same time.
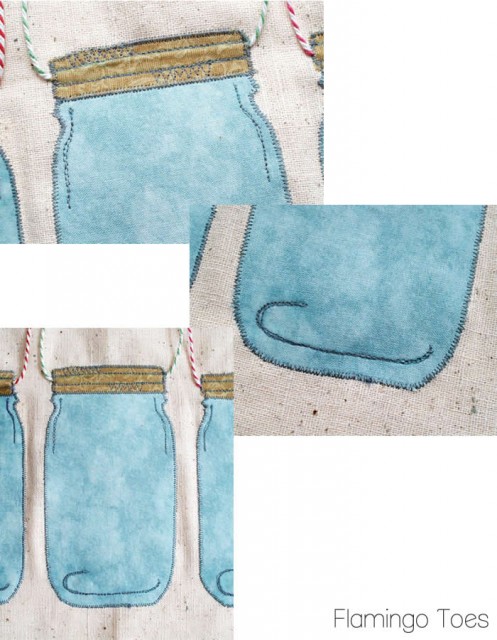
Now we're going to do our sketching. Lower the feed dogs on your machine and put on your free motion foot.
Mark the jars with the sketching lines that are on the pattern.
Sew over these lines, going over them as many times as you'd like. The more times you sew over them, the darker the lines will be.
For the jar lid, sew the horizontal lines on either side of the twine, then sew some zig zags in between the top and bottom lines, for a fun sketchy look.
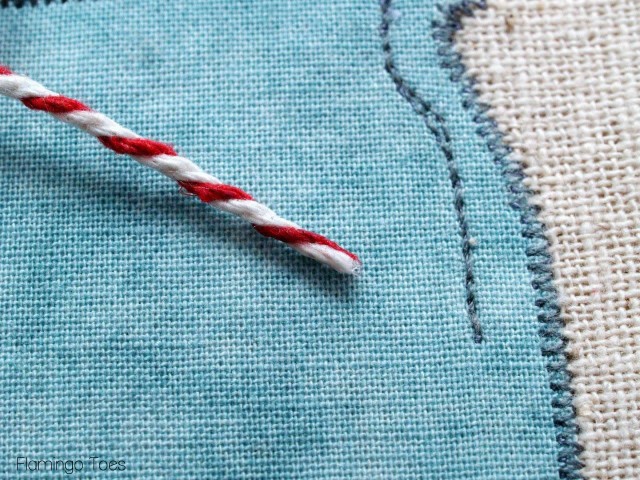
Once your lines are all sketched on, tie the twine in the bows where you'd like them. Hand sew the knots of the bows in place.
Trim the bottoms of the bows so they're not crazy long or crooked and treat the ends of the twine with glue so they don't unravel.
Move the bow of your right dishtowel out of the way, then place the label to the side of the jar. Iron the label in place, then sew on with a small zig zag stitch.
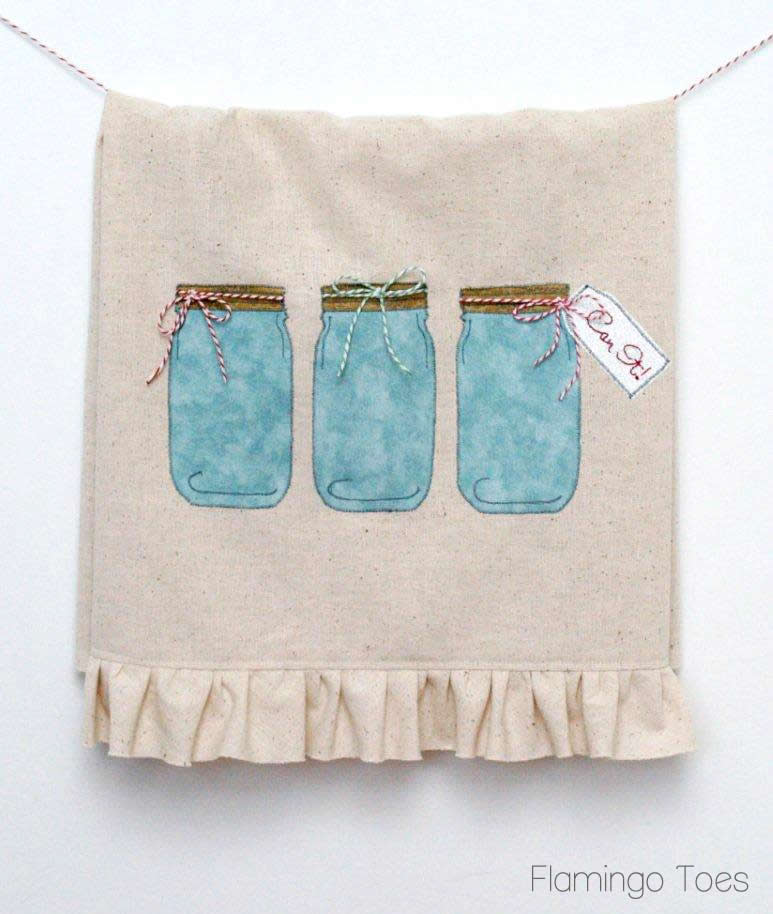
Now we're going to finish off the dishtowel. Hem the two long sides and the end of the dishtowel that won't have the ruffle.
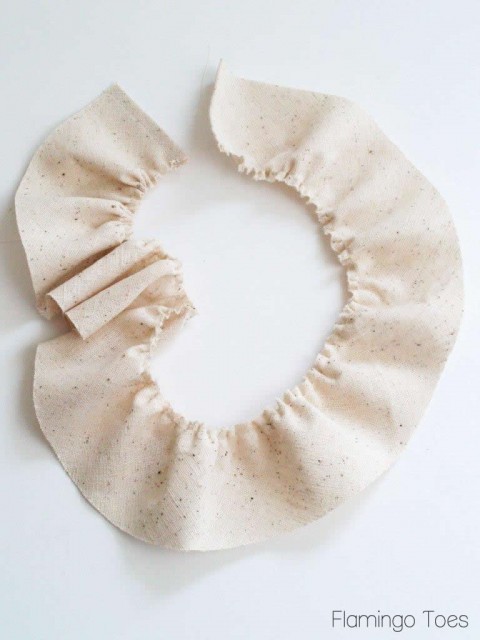
Hem the two short sides of the ruffle, then sew a gathering stitch 1/4" away from the top edge.
Sew the right side of the ruffle to the right side of the bottom edge of the dishtowel with a 1/2" seam. Press the ruffle down and top stitch the seam, 1/4" from the edge on the dishtowel side.
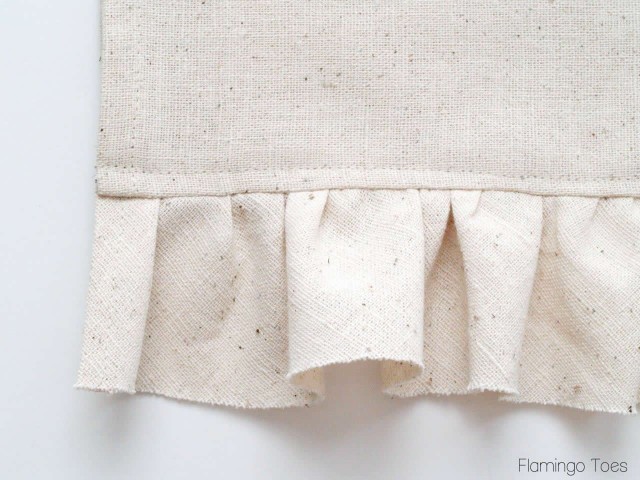
And you're all finished!!
So what do you think? Pretty fun right?
Thanks so much for having me guest post girls!

-----------------------------------------
Thank you, Bev! What a unique (and really cute!) gift idea, and the addition of the twine is perfect.
I hope you enjoyed Bev's project, make sure to visit her at Flamingo Toes for more great projects and tips, and stay tuned for more great handmade tutorials throughout the week.

This comment has been removed by a blog administrator.
ReplyDeleteAbsolutely darling, Bev!! I think this one may be my new favorite, too. I'm going to need that on an apron, please. ;)
ReplyDeleteThat is SO cute! I know exactly who I'm going to make one for!
ReplyDeleteThanks so much for including me in the series Jen and Shannon!! :)
ReplyDeleteLove the details and the "can it" =)
ReplyDeleteDeus te Abençoe!Fácil,rápido e barato,vou precisar de alguns...Beijos.
ReplyDeleteHow cute is this!! I must make this - adding to my list of projects for sure :)
ReplyDeleteI really like this towel! Thank you
ReplyDeletedang another must do project! my list is getting longer and longer as i go thru your blog :)
ReplyDelete